„How to Structure Art“: Online course on techniques for art with structural materials - English

“How to Structure Art”: Technique Video Course for Creating Texture in Art (Self-Paced Online Course)
Textures in art: you can feel them. Not only emotionally—but physically. And naturally, this tactile quality is also visible.
Because textures can mean so much on so many levels, many people think: “It must be incredibly complicated to create them on a painting surface.”
Spoiler: The better your understanding of materials, the easier it becomes to create texture.
This art course is a technique course.
You’ll learn about a variety of texture materials. You’ll understand how they work and how to control their effects. You’ll have the opportunity to build genuine material expertise. Layer by layer. Just like textures on a painting surface.
Sounds exciting, doesn’t it?
Your Course Content in the Self-Paced Technique Course “How to Structure Art”
- 8 individual videos: Creating mixtures, building layers, designing surfaces. Packed with material knowledge. Without a specific artwork to copy—giving you plenty of room to experiment.
- 139 minutes total runtime: Effects, characteristics, and possibilities. What can you achieve with each texture material?
- 1 handout: A clear overview of all materials, including mixing ratios and application tips for easy reference.
How to Create Texture – Techniques Covered in the Video Course
Mix, apply, done?
Not quite.
You’ll learn how to combine texture materials and further refine them. How they react to paint, glazes and sealing. And what you need to watch out for along the way.
Psst: Paying attention starts with mixing and application. There are different methods and possibilities even at those stages.
Let’s get started!
What You’ll Learn in the Self-Paced Video Course “How to Structure Art” – The Practical Side
Video: Introduction
- Overview of the course content
- The Stefanie Etter approach to working with different texture materials
Video: Marble Powder – The Mineral Texture Material for Layered, Cracked Effects
- Surface preparation: Prepare your surface properly to ensure optimal adhesion of the slaked lime.
- Mixing: Should you use acrylic binder or acrylic emulsion?
- Pure, tinted, or combined with poured applications: Discover why “marble powder always works.”
You’ll learn: Technical details. The best mixing ratios and materials. Working with glazes, pigment drops, and color pours using antique ink.
Video: Slaked Lime – The Delicate Texture Material for Fine Surface Breaks
- Mixing: The mixture determines whether it adheres—or doesn’t adhere—to the surface. And if it doesn’t at first, there’s a perfect solution afterward.
- Application: Your artistic vision determines the application—regular or irregular, flat or raised, large-scale or as accents.
- Pure, tinted, or glazed: Use slaked lime in its natural state or add color before or after application.
You’ll learn: Technical details—including how to store slaked lime. How to mix it, tint it, and apply it.
Video: resi-CRETE – The Versatile Texture Material
- Different textures: From smooth concrete-like surfaces to highly tactile textures. Key factors include consistency, palette knife movement, and layer thickness.
- Effects: Create metallic effects on resi-CRETE surfaces using spray products.
- Techniques: Use encaustic wax to create crystalline structures on a resi-CRETE base.
You’ll learn: Why resi-CRETE stands for speed, ease of use, and versatility. Special features: pre-pigmented (and customizable), lightweight, fast-drying (ideal for layered work without long waiting times), compatible with other materials, usable as a standalone texture medium or as a carrier/intermediate layer, and suitable for creating custom texture pastes.
Video: XL CRACKLE PASTE – The Controllable Texture Material for Large-Scale Cracking
- Priming: Turn your primer color into part of the artwork itself.
- Application: Control and vary crack formation through the thickness of your application.
- Tinting: Achieve different effects using pigments or sprays.
You’ll learn: Why the drying process itself becomes a major design element. How to further emphasize cracks and surface breaks.
Video: Crackle Varnish – The Glossy Texture Material for Delicate Cracks
- Tinting: See an example of coloring with pigment drops.
- Application: Important considerations when applying crackle varnish.
- Appearance: The focus is on delicate crack patterns with a glossy finish rather than tactile texture.
You’ll learn: Why crackle varnish differs so much from other texture materials. Why it is especially suitable for elegant and sophisticated effects.
Video: Encaustic Wax – Used as a Crystal-Like Texture Material
- Surface preparation: How to prepare the surface for optimal wax adhesion.
- Technique: Process the wax using the brush technique.
- Combination: Create crystal-like structures on other textured surfaces, such as resi-CRETE.
You’ll learn: What you need to work with encaustic wax. When wax textures are worth using. The range of textures you can achieve.
Video: Closing Remarks
- Recap
- Emphasis on one particularly important aspect
Frequently Asked Questions About the Technique Video Course “How to Structure Art”
Will I create a finished artwork in this course?
No. This course is designed to make you confident in working with the texture materials covered. You’ll learn how to create mixtures intentionally and design surfaces effectively. There is no artwork that you copy step by step. The knowledge comes from the course; the ideas come from you. If that appeals to you, this course is for you.
Can I take this online course without prior experience with texture materials?
That’s exactly what the course is for. You’ll gain experience through Stefanie Etter’s guidance. She explains every technique step by step—including mixing ratios, application methods, and drying times.
Is there a money-back guarantee for the course?
No. As a general rule, we do not offer refunds for digital products. Instead, you’ll find a highly detailed course description on this page so you can confidently decide whether this course is right for you.
How often and how long will I have access to the course?
As often as you like. For as long as we exist as a company and the technical infrastructure remains available.
Do I need specific materials to work with after completing the course?
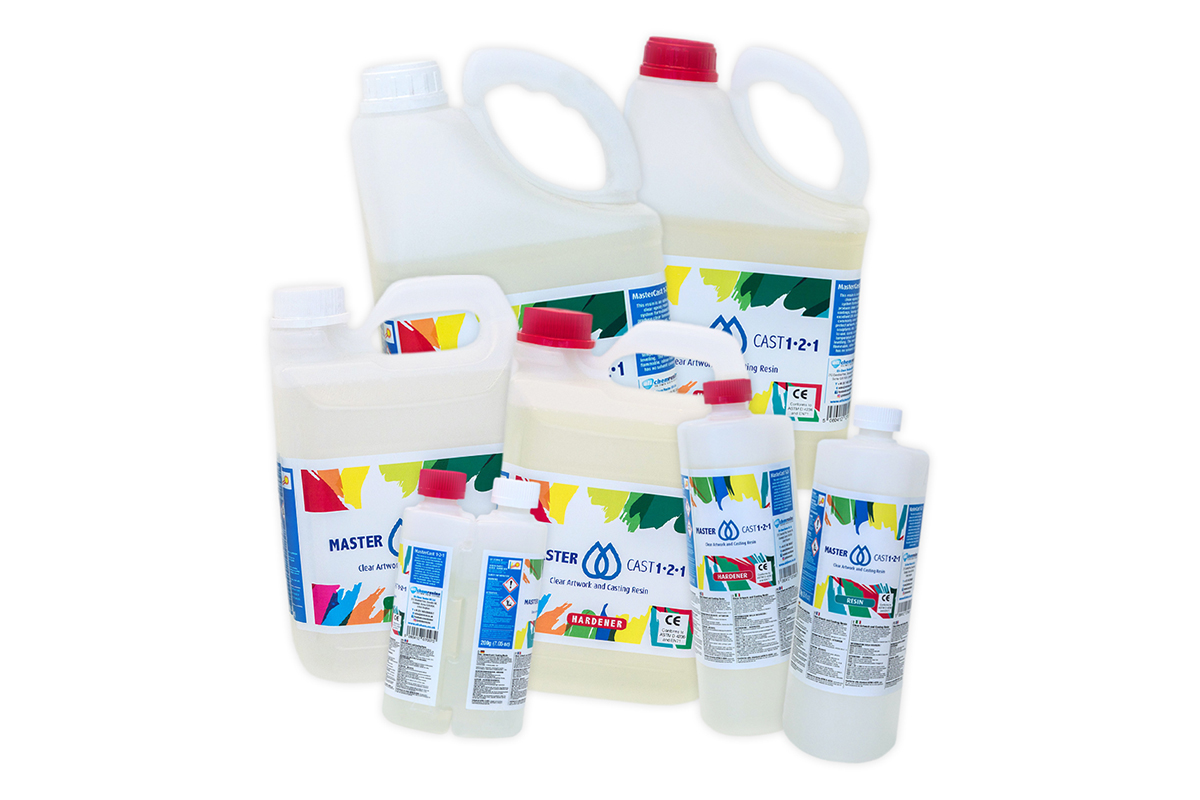
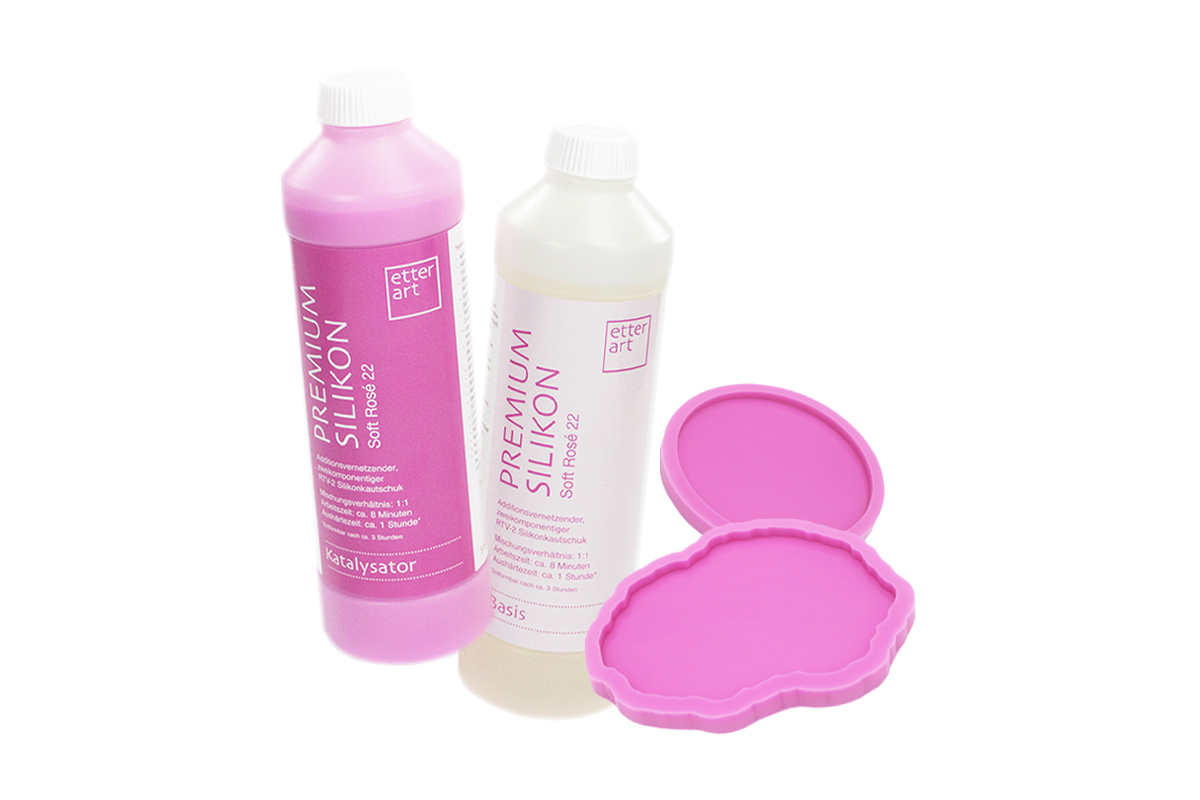
Yes. You’ll need the texture materials you want to use creatively. You can find all of them in the Etter Art Shop.
With “How to Structure Art,” become confident in transforming your own ideas into textured artwork. Create new dimensions in your art. And use surface texture as a powerful means of Expression.
Login