Rapido 500ml


€39.00*
Currently not available
Application possibilities RAPIDO Resin
- RAPIDO Cup Art (Floating Cups)
- Frozen Waterfall: Pour your own waterfall with slightly bluish colored RAPIDO Resin.
- Creating Connections: Pour a small, pretty cup "on" an etagere, for example.
- Adding Elements: Immediately after casting, add small elements to the cast RAPIDO Resin, such as stones or pieces of wood. This also works in shimmering style - with shiny objects such as small mirrors, glitter and glitter or semi-precious stones
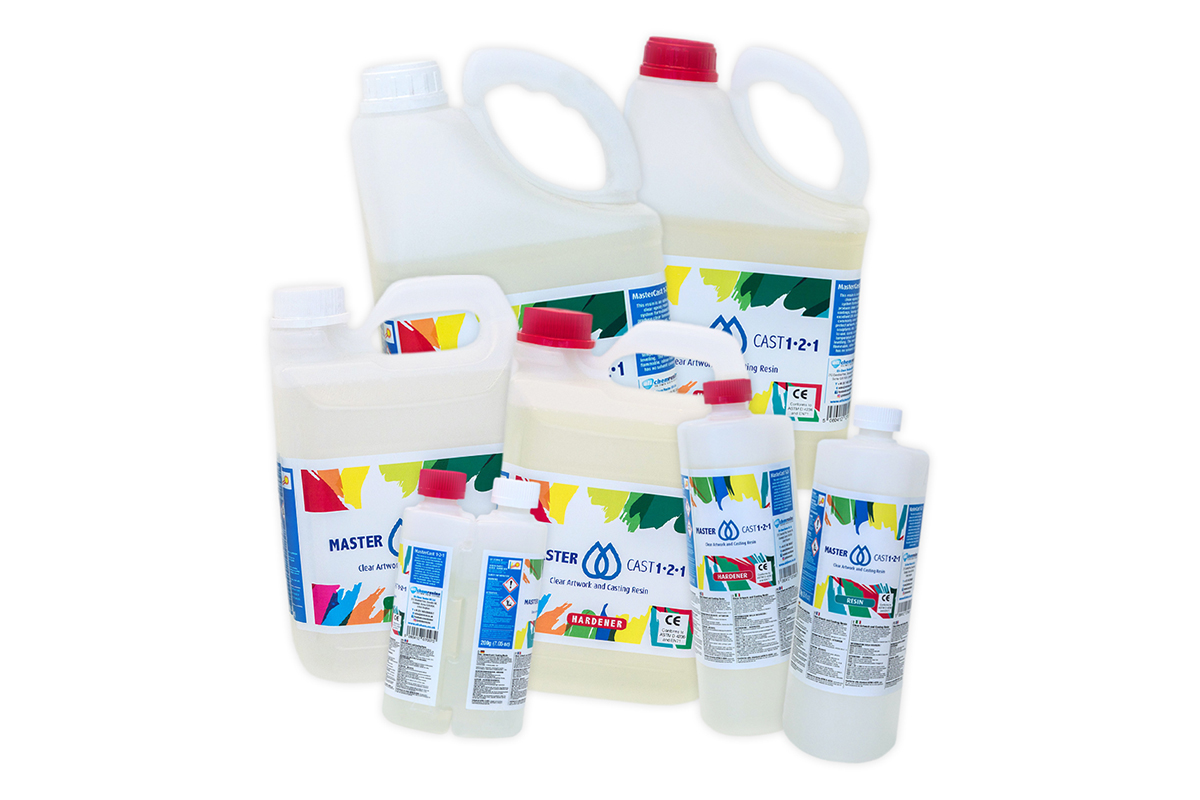
Technical data polyurethane resin RAPIDO
- 2-component polymer resin (resin and hardener)
- Color resin: clear
- Color hardener: brownish
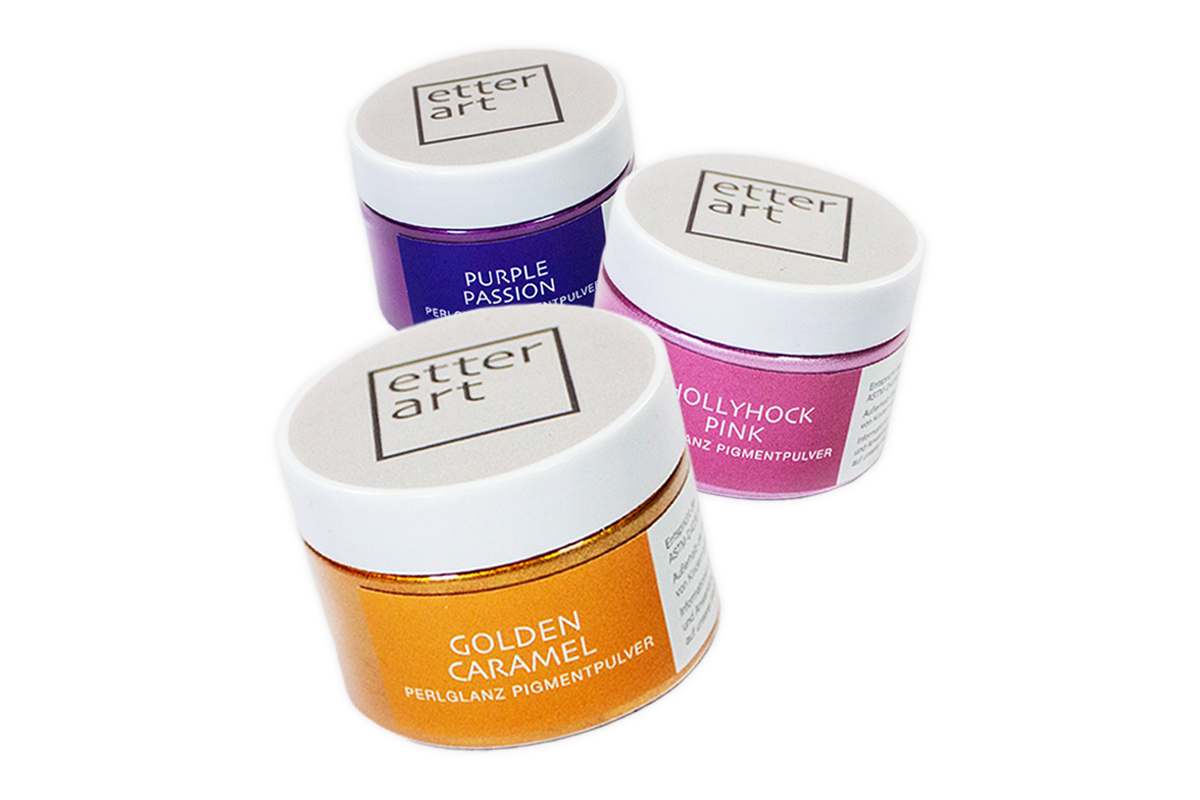
- Easy to color with pigments (pigments must not be water-based)
- Mixing ratio: 1:1 by weight
- Specific gravity: resin: 1.00 g/cm3; hardener: 1.20 g/cm3
- Viscosity at 22 °C: low; resin: 600-700 (mPas); hardener: 200 (mPas)
- Hardness: Shore D 65-70
- Mixing time: approx. two minutes at 22 °C (depending on pigments used)
- Processing time: 45-60 seconds at 22 °C (depending on pigments used), RAPIDO Resin changes its consistency very quickly from gel-like to hard
- Touch dry: after approx. 15 minutes
- Drying time: fully cured after 24 hours at 22 °C
- Heat resistant: up to a maximum of 60 °C
- Flash point: > 200 °C
- Shelf life: 12 months. Store in a cool and dry place in the sealed bottles.
- Currently available in a set of 250 g resin and 250 g hardener.
Application RAPIDO Resin
Please wear nitrile gloves when working with RAPIDO Resin and ensure good ventilation.
Step 1: To color RAPIDO Resin, add selected pigments to the resin before adding the hardener in a 1:1 ratio by weight.
Water-based pigments are not suitable for RAPIDO Resin. They react with the resin and form foam. What works well for this resin: Epoxy pastes, pearlescent pigments such as our resi-TINT Max pigment pastes or other non-water based pigments.
Step 2: Mix well both RAPIDO components including the pigments for about two minutes. You will feel the exothermic reaction start immediately. The mixing cup will therefore become warmer and warmer during mixing.
Step 3: If you want to include the mixing cup in your artwork, leave the mixture in this cup. If you want to "solid pour" another vessel, then transfer your RAPIDO mixture now.
Step 4: Check to see when the resin begins to thicken. This happens a few seconds after mixing. You can feel it very clearly: the mixing cup gets really hot at the end. Don't worry, this is normal, your mixture will neither boil nor burn.
Step 5: As soon as your RAPIDO mixture has become thicker, you can pour it (please pour slowly). RAPIDO Resin gels very quickly, within seconds. So it will falter while flowing if you pour it slowly.
Step 6: RAPIDO Resin hardens very quickly. Nevertheless, please hold your mixing cup (or vessel) for about 5 to 10 minutes. This will ensure that everything stays in place; where you want it. This resin will be dry to the touch after about 15 minutes.
Login